
MS Outlook stores a copy of emails and other mailbox data in the OST file onto user’s system. This OST file is used to work offline when the Exchange Server connection is unavailable. The changes made during that period are synced to Exchange Server once the connection is available.
On the other hand Window Live Mail is also an email client by Microsoft which uses the EML format. The emails are stored individually in EML format, containing message, headers, and attachments. The file is compatible with different email clients like Outlook, Apple Mail, Thunderbird, and Windows Live Mail.
In this post, we will discuss the easy-to-use method to migrate OST emails to Windows Live Mail. Read till the end and find the ways to import OST to Windows Live Mail inbox with ease.
Why Need to Import OST to Windows Live Mail?
There can be various reasons why users want to open OST file in Windows Live Mail. Some of them include:
- When you switch from Outlook to Windows Live Mail.
- The most common reason is to open OST file without Outlook.
- To create a backup of OST mailbox items.
- You received an orphan OST file, and you are currently using the Windows Live Mail client.
- After leaving the job, you have your important emails in the OST file. In the new Office, they use Windows Live Mail, and you need your old data as well.
Best Methods to Import OST to Windows Live Mail
To migrate OST to Windows Live Mail, we have multiple methods that can be used. These methods are discussed in detail below:
1. Migrate OST to Windows Live Mail Using MS Outlook
In this method OST file is first converted to PST format and then importing the resultant PST file to Windows Live Mail. Follow the steps below to import OST to Windows Live Mail.
- Open Outlook and click on the File tab from the menu bar.
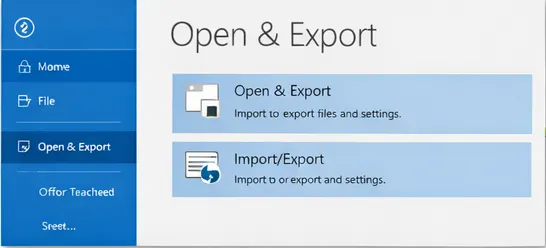
- Now Select Import/Export.
- Choose Export to a file and click Next.
- Now select the mailbox folders you want to export.
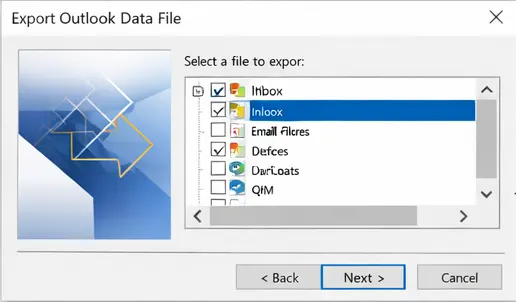
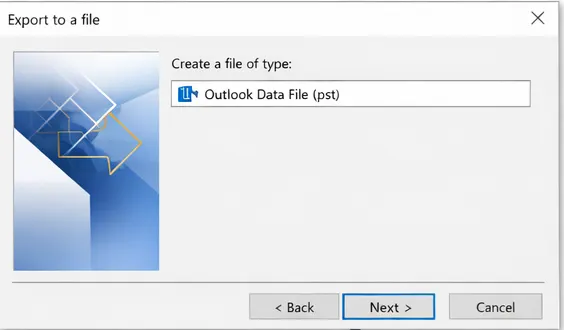
- Select Outlook Data File(.pst), and click Next.
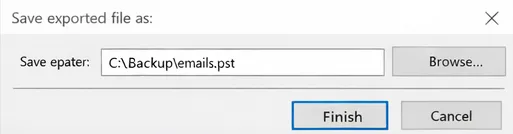
- Save the PST file to the desired location.
We have now saved the OST emails to a PST file. The next step is to import this PST file to Windows Live Mail. Follow the steps below to proceed:
- Open Windows Live Mail, click File from the menu.
- Now Click on Import Message.
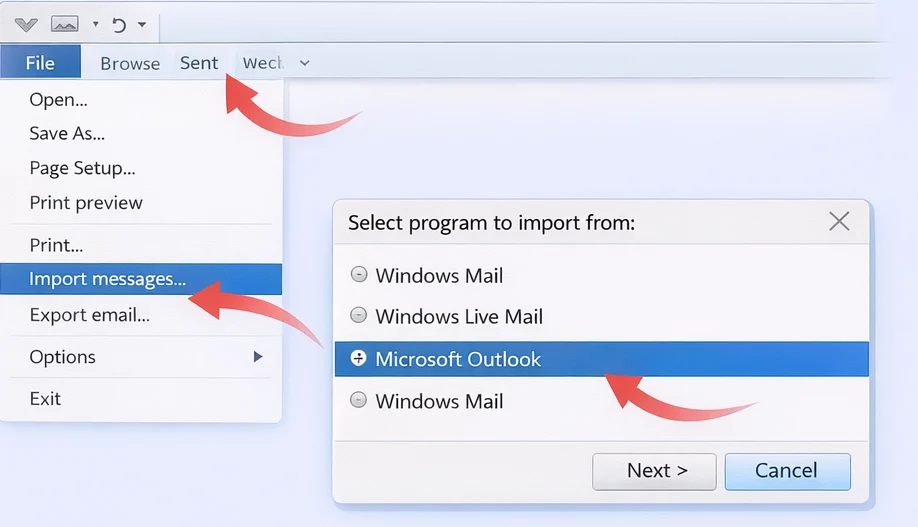
- Select Microsoft Outlook.
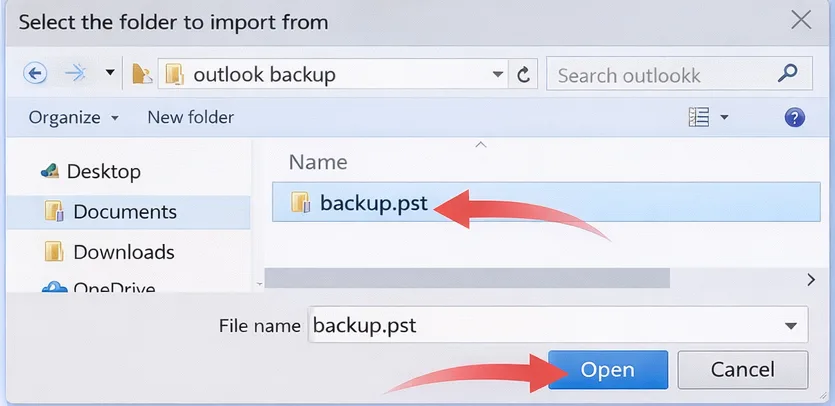
- Browse the PST file that you saved earlier.
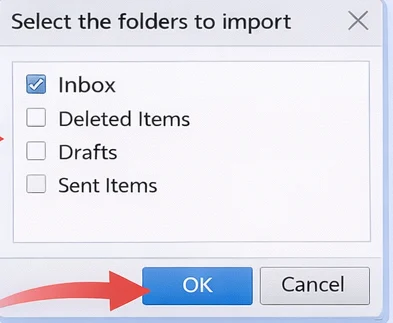
- Select the folders you want to import.
2. Import OST Emails to Windows Live Mail (Automated)
The manual approach of migrating emails from OST to Windows Live Mail is a tedious task and requires technical knowledge; thus, using the automated BLR OST to PST Converter is the best choice. All you need to do is add the data file, and it will convert the OST file to an EML file. After that, you can easily import the exported data file into Windows Live Mail. Most importantly, the OST converter tool supports importing emails from orphan or inaccessible OST files without any data loss. Moreover, while moving OST file data, the tool will preserve email key elements and attributes.

Conclusion
In this post, we have discussed the manual method as well as an automated solution to import OST emails to Windows Live Mail account. When you follow the manual method, you have to take care of the steps, as not following the procedure precisely may lead to data loss. The second method that we have used automated solution, is best suited when you have a large number of emails to import. It also guarantees data integrity while maintaining original properties and folder structure intact.