
Read time: 3 Min
You may have been using Outlook without any errors for years, but an unexpected issue can rise any time. Imagine when you are trying to send an important email and Outlook stops working. This can be caused due to corrupt or damaged OST file. You can overcome this situation by simply recreating the OST file. In this post, we will discuss what an OST file is, why it is affecting Outlook’s performance, and how to recreate OST file in Outlook 2021/2019/2016.
Why Recreate OST File in Outlook?
Recreating the OST file is recommended when there are errors in OST file, and it doesn’t sync with the Server, causing performance issues. Here are a few signs when you should recreate OST file:
- If Outlook fails to sync with your Server.
- You encounter an error that says – OST file cannot be accessed and stops you from opening your emails.
- If the OST file is orphaned.
- When the Outlook not opening message appears while trying to open Outlook.
- If the OST file too large, then you can also face such an issue.
How to Recreate OST File in Outlook 2021/2019/2016?
Here are a few methods to recreate OST file. Try them with carefully:
Step 1. Delete Old OST File
The simplest method is to delete the OST file and let Outlook create a new one for you. However, this methods only work if you are connected to the server. To delete the OSt data file, first, you need to locate the OST file in your system. Here are the steps –
- First of all, completely close your Outlook.
- Then, find your OST file; here is the default path: C:\Users\
\AppData\Local\Microsoft\Outlook).
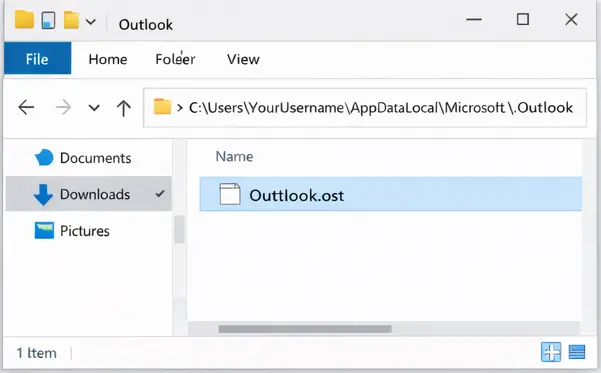
- Delete the file and restart Outlook.
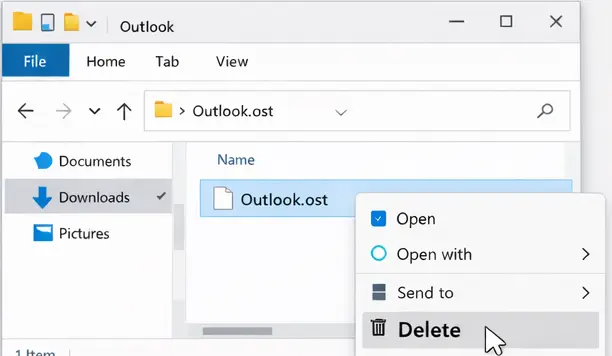
Outlook will create a new OST file that is free from any errors or corruption.
Step 2. Create New Outlook Profile
Sometimes the issue you are facing is not in the OST file, but with your Outlook profile. Creating a new one can solve the issue:
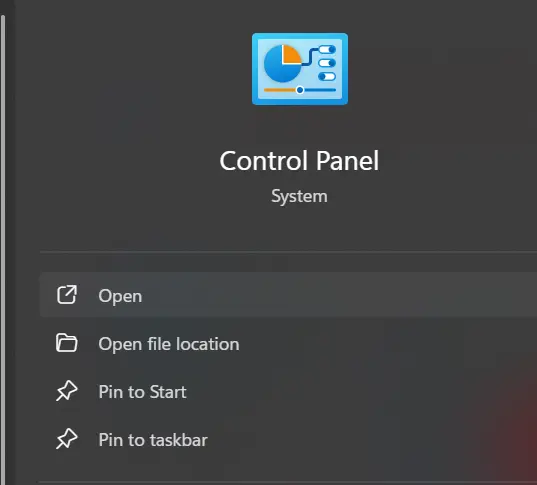
- Open Control Panel
- Navigate to Mail
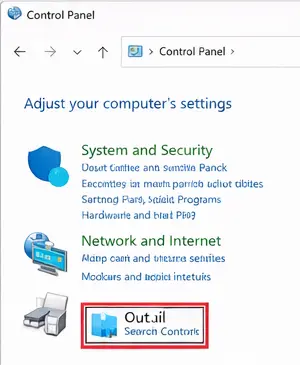
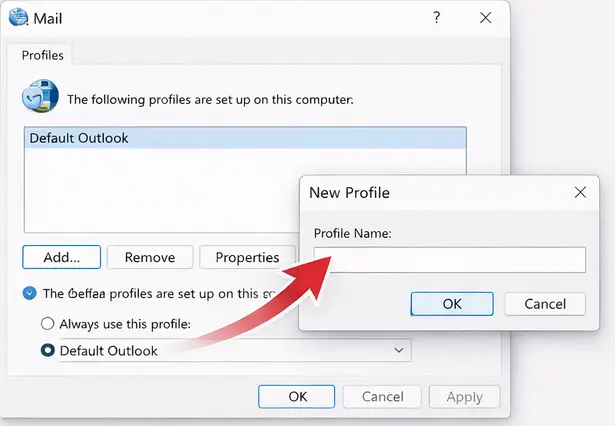
- Click Show Profiles.
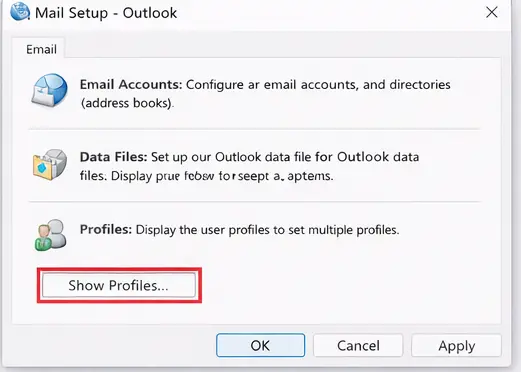
- Click on Add a new profile and configure your email account.
- Launch Outlook with the new profile. It will create a new and healthy OST file.
Step 3. Refresh cache Exchange Mode
Switching off and on the cache Exchange mode in Outlook solves the issue. When your Outlook is not syncing or there is a slight error with the OST file, this solution will be helpful. Here are the steps:
- Go to File > Account Settings > Account Settings.
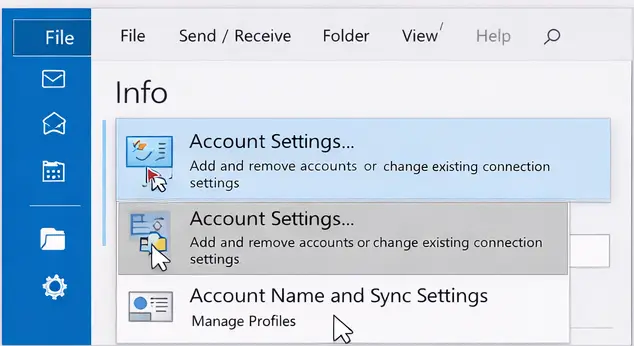
- Select your account, then click Change.
- Uncheck “Use Cached Exchange Mode” and then restart Outlook.
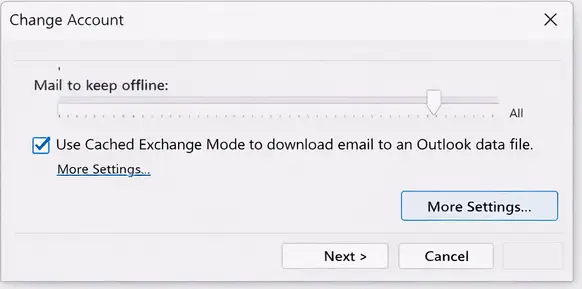
- Go back and follow the same steps to check it. After that, restart.
- This forces Outlook to rebuild the OST file.
When Manual Solution Doesn’t Work?
The above manual solution will not work in certain conditions, which include:
- If your OST file is damaged, then these solutions can’t fix a corrupted OST file.
- If the OST file is not synchronized with the server, then it can cause data loss.
- You are not linked to a server, so it is not possible to convert not accessable OST file.
When users are in the above situation, it fails to recreate the OST file. In that case, they need another approach.
How to Restore OST File in Outlook Without Losing Data?
If your OST file is not accessible, you can convert OST to PST format with professional software. One such software is the BLR OST to PST Converter that allows access to emails, contacts, and other items. The software will effortlessly convert emails from corrupted or damaged OST file without any hassle. With its simple and user-friendly interface, one can rebuild the OST file with ease. Try the demo version first and analyze how it works.

Conclusion
Today, in this post, we discuss the efficient and easy ways to recreate OST file in Outlook 2021/2019/ 2016 and other older versions. Additionally, we also mention the alternative tool if the manual methods don’t work. Try the solutions provided to rebuild your OST file and resolve any errors associated with it.