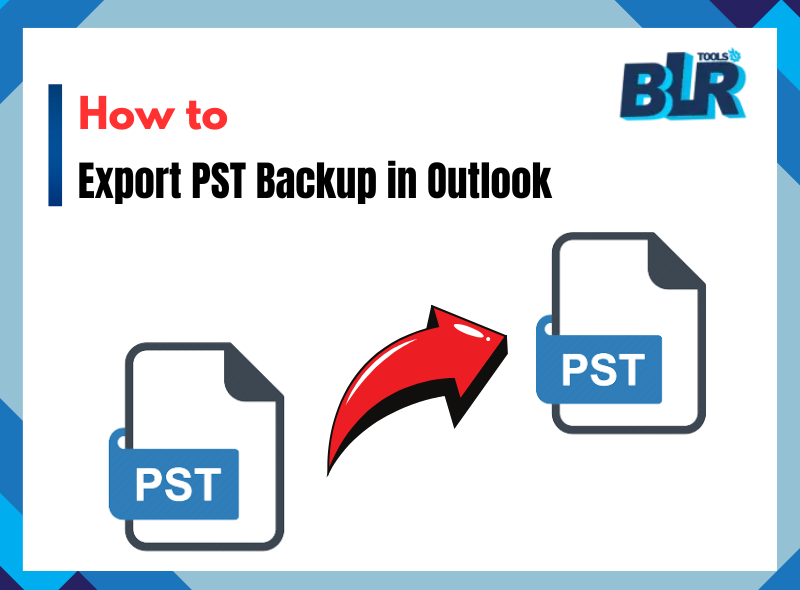
Microsoft Outlook is a well known email client and during the usage of this email client a number of data are stored in the PST (Personal Storage Table) file. Backup of Outlook email data obviously be created into PST file format which is important for data safety and migration as well as archiving. In this guide, we see to it that you will be able to export PST email in Outlook account without any data loss through four simple methods. In addition, we will also present an efficient way to do so, in the form of the BLR PST email data converter.
User Query (Sarah Mitchell): I was trying to export my Outlook data to a PST backup and when I tried it said that the export failed. I‘m using Outlook 2019 and I tried following the steps as provided on a couple of online guides but none of it works. What am I missing? Could you guide me with easy work upon instructions?
If you are also unable to get Outlook exported with your data as PST file format, do not worry as we’ll walk you through the process in four easy methods to help you get your backup as a PST file. Users may want to know how to convert outlook email data as PST files without any technical knowledge.
First Let’s Understand – PST Backup
A PST (Personal Storage Table) backup is a file where all the emails, all the calendar related details or events along with contacts, etc. is all stored within Microsoft Outlook. You can basically use it to write a copy of all Outlook information that is secured, saving and protecting your important data.
Users Should Export PST Backup Because
Before we start you need to understand what reasons make PST email export important.
- Emails and other properties like, attachments, contacts and so on intact and protected from accidental loss.
- Extraction or takeout of email and MS-Outlook email data to another Platform.
- Saving your Outlook emails to a different storage location helps you clear up space.
- Users can save your email records to access them later.
- Keeps PST files safe from malware effects through routine backups.
Our next step is to know about the multiple ways for saving PST backups from Outlook.
A Manual Solution – Free to Export PST Email Backup in Outlook
Solution One: Making use of Outlook’s Built-in Export Feature
Microsoft Outlook contains a built-in tool to save your email content and mailbox items as a PST file. Follow these steps:
Step-by-Step Guide:
- Open Microsoft Outlook on the system.
- Click on option – top-left via File.
- Locate to option – menu and the drop-down under File the – choose Import/Export.
- Choose now – Export to a file option after Next.
- Choose MS Outlook email Data File (.pst) from list and click on mouse to move Next.
- Now select specific email folders to export. Check mark to include Subfolders option if applicable.
- By clicking on – Next – pick a destination path for PST email file.
- Choose the Finish option to complete export process.
- To protect your data you can choose to set a password for the PST file at this step.
Additional Note: Outlook provides a free internal tool that lets you backup your basic email contact calendar information at no cost While the built-in PST backup feature is user-friendly it cannot export individual emails and processing large files can reduce speed.
Solution Two: Drag & Drop Email to New Outlook PST File
Simply start a new PST file and move your Outlook items into it for backup.
Step-by-Step Guide:
- Open Outlook from your desktop and navigate to File > Account Settings > Data Files.
- Select Outlook Data File (.pst) from the Add options menu then enter a name.
- Users will find their new PST file listed within its designated location.
- Copy emails, contacts and calendar events from present folders by dragging them to the new PST file.
Additional Note: With this method users can pick specific data to back up without needing extra tools. Even though this method is useful, it requires hands-on work that takes more time with big data and can leave behind important messages if not chosen properly during backup.
Solution Three: Export Via Outlook’s Archive Feature
AutoArchive in Outlook moves your old emails to a separate PST file through its built-in feature.
Step-by-Step Guide:
- Go to the File menu and select Options in Outlook.
- Click on AutoArchive settings – via Menu advance option.
- Decide the frequency of AutoArchive operation.
- Choose a path for your saved PST archive.
- Click OK to confirm.
Additional Note: This proven method saves time by running backup tasks automatically and helps users to control mailbox space. You cannot choose particular folders to export through this method and must configure it before using the feature properly.
Solution Four: Export Using Outlook’s Archive Feature
More Experienced Users Can Export PST Data Through PowerShell. Windows PowerShell commands work best to export PST files from Microsoft Exchange.
Step-by-Step Guide:
- Open PowerShell as an administrator.
- Use this command to create a mailbox export for PST format.
New-MailboxExportRequest -Mailbox “User” -FilePath “\\Server\Backup.pst - Check the status using:
Get-MailboxExportRequest - When the export process ends, get the PST file from its designated storage area.
Additional Note: IT specialists who handle Exchange servers find this approach perfect since it supplies easy and automatic bulk export support. Users with basic IT skills will find this method challenging since it needs an Exchange Server setup.
A Best Solution as Software to Intake PST Email files into Outlook Account
The BLR PST email converter provides a simple method to export PST email in Outlook. This tool lets users transform PST files with their original email styles, data attachments and directory structures without any issues. Without effort, you can move backup data and recover missing emails using this tool that makes it easy to use.
Click on the Bottom now to get a Free Trial !!

Steps to Export PST Backup to Outlook:
1: Start using BLR PST mail data Converter by downloading and setting it up on your system.

2: Start the tool and select the Add PST File function.

3: Check through the emails to pick out your needed information.

4: Select Outlook (PST) for the export type and choose the destination folder.

5: Click on the Export option to initiate the export task.
6: All PST Backup is exported into outlook.
You can use BLR PST file converter to restore and view your PST file right in Outlook without trouble.
Conclusion
Outlook users must export PST backup email files to keep their important mailbox contents and email messages safe. Not all Outlook users find its built-in tools such as Import/Export Wizard, Drag and Drop, AutoArchive, and PowerShell easy to use because these methods require time and technical knowledge.
Users can benefit from the BLR PST Outlook email exporter because it makes exporting PST backups quick and easy. Your skill level determines which backup method you should use to create secure backup files without difficulties. Keeping Outlook databases safe in backups will help to protect data going forward.
Hope this article is a nice help for you to export PST email in Outlook account in real-time mode using the recommended solution above. Above suggested program has been widely used by experts and has been a proven solution.
Being also an expert I suggest you to read below mentioned articles if you need some more relevant information as a help.
Here is a list:
How to easily open PST email in Office 365
How easily PST email into Yahoo Mail
Know about how to open PST email file without Outlook
Ease solution to Import PST email into Gmail